Nikon's new D5600 is a 24.2 megapixel DSLR with an APS-C sensor. It replaces the D5500 and was unveiled on November 10, 2016. The F-mount makes the camera a great option for those photographers who are looking to upgrade from a basic DSLR. The D5600 has a variety of features that photographers will appreciate, such as Wi-Fi and SnapBridge.
SnapBridge
Nikon just released the SnapBridge D5600. This wireless photo-editing system is an excellent way to enhance your photographs and share them with family and friends. The D5600 boasts a 24.2 Megapixel APSC sensor. The camera was launched on November 10. The F-mount is the same as its predecessor. More information about the new camera can be found here. You can also read the SnapBridge D5600 manual for more information.
Once the SnapBridge application has been downloaded to your smartphone, you can begin uploading images. This service automatically uploads web ready, 2-megapixel images to your phone. You can browse the Internet as you transfer images to the app. You can also access e-mails and your social networks. Additionally, the Snapbridge 2.6 app features an extra power-saving mode that minimizes battery consumption when you're uploading and downloading photos.

Optical Low-Pass Filter
There are many benefits to using an optical low-pass filter with Nikon cameras. This not only improves the dynamic range of the photos but it also reduces the possibility of lens distortion. The D5600 has a wide range of tools for retouching, including lens distortion correction. This eliminates the need to purchase expensive software. Additionally, the D5600 offers a variety in manual exposure levels as well an HDR mode that merges two images to create high-quality pictures.
The Nikon D5600 does not have an optical low pass filter, so if you are a keen photographer, you can make the most of every ounce of light available. The 24MP APS -C CMOS sensor provides excellent image quality and high speed video recording. It also has Wi-Fi and Bluetooth connectivity for wireless connectivity. A touchscreen interface is built into Nikon D5600 so that you can control Auto Sensitivity.
ISO Performance
The Nikon D5600 has a good ISO performance considering its 24-megapixel APS C sensor and relatively low noise levels. The Nikon D5600 is very effective at reducing noise while maintaining great detail in most areas. To get the best quality, however, you need a reliable RAW convertor. Although the RAW files are not as high quality as JPEGs from in-camera, they are still very impressive.
Because of its slim body and variangle touchscreen, Nikon D5600 is very easy to use. The D5600 makes it easy to take photos and delivers excellent image quality. The Nikon D5600 produces stunning images with sharp colours, excellent detail and a wide dynamic range. It doesn't matter if the ISO level is high, because the camera produces images with excellent pixel density. It is also lighter and more compact than its predecessors.
Wi-Fi capability
The Nikon D5600 features Wi-Fi built-in for remote shooting and sharing images. Camera automatically connects to Android or iOS-powered smart phones when it detects Wi Fi. The Network SSID (Service Set Identifier), must be selected by users of other smart devices. It starts with the name Nikon, followed by a number of letters or a string of letters. Once you've selected the Network SSID, the Nikon Wireless Mobile Utility Application will open.
The D5600 can be used for remote capture and high speed photo transfers. Movie transfer is also possible. Bluetooth allows the camera to pair with compatible smart devices. Wi-Fi does not exist in the Nikon D750(K), however, you can activate it in the set up menu by ensuring the wireless network icon above the network lines. NFC is also supported. Wi-Fi isn't supported by Nikon D750, D7500 or D5600(K).
FAQ
How do I become an excellent photographer?
Photography is an art form that requires patience, dedication, passion and dedication. Passionate about photography will make you do better than if it was just for the money.
You need to learn how to use your camera properly. Understanding composition, lighting, exposure and depth of field are all important. A basic understanding of Photoshop is essential.
Photographing is not an easy task, but once you have mastered it, there is nothing more satisfying than creating images that capture moments that are lost in time.
Learn more about the subject and then take classes or participate in competitions to enhance your skills. This will allow you to gain confidence and experience which will result in improvement. What equipment do you need?
It all depends on the type of photography that you are interested in. You will need a wide angle lens if you want to photograph landscapes.
You should invest in a Telephoto Lens if you love portrait photography.
When taking photos, a tripod is essential. A tripod allows you to stand still and compose your photograph without having to move.
A camera bag can be used to carry your camera, memory cards, or other accessories.
If you use a compact camera, a flash unit is required.
A DSLR (Digital Single Lens Reflex), camera is the best choice for novice photographers who wish to create professional-quality images.
DSLRs are highly popular for their ability to control every aspect of a photo, such as shutter speed and aperture, ISO sensitivity, white-balance, focus, and white balance. There are many features available, including autofocus, self-exposure lock (auto-exposure lock), bracketing, and RAW format.
Do I Need A Tripod?
This is one question that everyone wants to know. While a tripod may not be necessary all the time, it can prove to be extremely useful.
This allows you to keep your camera steady even when taking slow shutter speeds. A tripod can be very useful if you want to photograph landscapes and stationary subjects.
However, a tripod can blurriness if you are photographing moving subjects, such as people or athletes. What are the best ways to determine which situations you need a tripod for?
A tripod is useful when you need to photograph stationary or fast moving subjects. Examples include:
-
Sports
-
People
-
Landscapes
-
Close-ups
-
Macro shots
This test will help you determine if you need a tripod. Take your camera and hold it still. Then, look through the scope. If you see blurred lines or movement, then you definitely need a tripod.
If you don't see any blurring, you probably won't notice any improvement by adding a tripod.
If you do decide on a tripod purchase, these are some things to remember.
-
You should ensure that your tripod has smooth legs. This helps to prevent vibrations from shaking the camera.
-
Make sure you choose a sturdy tripod. Some tripods are made out of plastic and may not be very durable. Instead, choose a metal tripod.
-
You might consider purchasing a remote control. This lets you control your camera remotely. It can automatically fire the shutter when you press the button.
-
A tripod that can rotate 360 degrees is a good choice. This makes it much easier to position your cameras horizontally or vertically.
-
Remember that tripods can be expensive. Expect to pay between $100-200. However, you'll get lots of value for your dollar.
-
Accessories like memory cards and filters should not be forgotten.
-
Before buying online, check with your local store. Many retailers offer free shipping.
-
Check out customer reviews to learn what they think about a product.
-
Ask your family members and friends to recommend similar products.
-
You can learn from customers' experiences by visiting message boards and forums.
-
Search online for user reviews.
-
Use websites like Amazon.com to compare prices and read customer feedback.
-
Check out these photo galleries for an example of the work that photographers do with their tripods.
Is digital photography hard?
Digital photography is not as simple as it seems. You will need to spend time learning how to use these tools correctly. You must know the right settings for different types shots. The best way to learn is by doing. Practice makes perfect.
Is photography a talent or a skill?
Photography is not an artistic talent. It is an art that takes practice, training and experience. It takes years to master any aspect.
Photography is also a business where you need to have a plan for how you are going to make money from it.
You need to know what type of clients you are looking for and how you can reach them.
You must know their identity and what they want. To convince them to purchase your services, you need to be able to communicate clearly.
This means you need to be prepared and well-organized when meeting potential clients.
To be ready to meet potential customers, you'll need to build a portfolio. This can be done digitally through software programs or printed on to paper.
Once you have created a portfolio, you must look for opportunities to show it off. This could be by approaching businesses directly, or even advertising online.
What is a good camera bag?
It is essential to choose a camera bag that protects your gear when you travel. Consider these factors when selecting a bag.
-
Size: Choose a big bag to hold your camera and accessories comfortably. Don't purchase more than you are going to use.
-
Durability: Bags made of durable materials such leather, canvas and nylon are best. Avoid fabric and plastic bags.
-
Protection: Make sure your bag protects against dust, dirt and moisture.
-
Organization: Consider organizing your gear by type to easily access your needs. For example, put your lenses in one compartment, your memory cards in another, and your battery charger in yet another.
-
Comfort: Use a shoulder strap to carry your camera instead of a bag. Look for comfortable designs with padded straps.
-
Price: Look around for the best price. Discounts are sometimes offered by some brands, which can be a bonus.
-
Warranty: Find out if your company offers a guarantee on its products. This way, if anything happens to your bag, you know who to contact.
Statistics
- That's the easiest way to get blurry photos 100% of the time. (photographylife.com)
- While I cannot prove that all of those spots were not sensor dust, the photo was taken during a heavy snowstorm…so I guess that 99.8% of the spots are snowflakes. (bhphotovideo.com)
- By March 2014, about 3 million were purchased monthly, about 30 percent of the peak sales total. (en.wikipedia.org)
- This article received 13 testimonials, and 100% of readers who voted found it helpful, earning it our reader-approved status. (wikihow.com)
External Links
How To
How to photograph in low light conditions
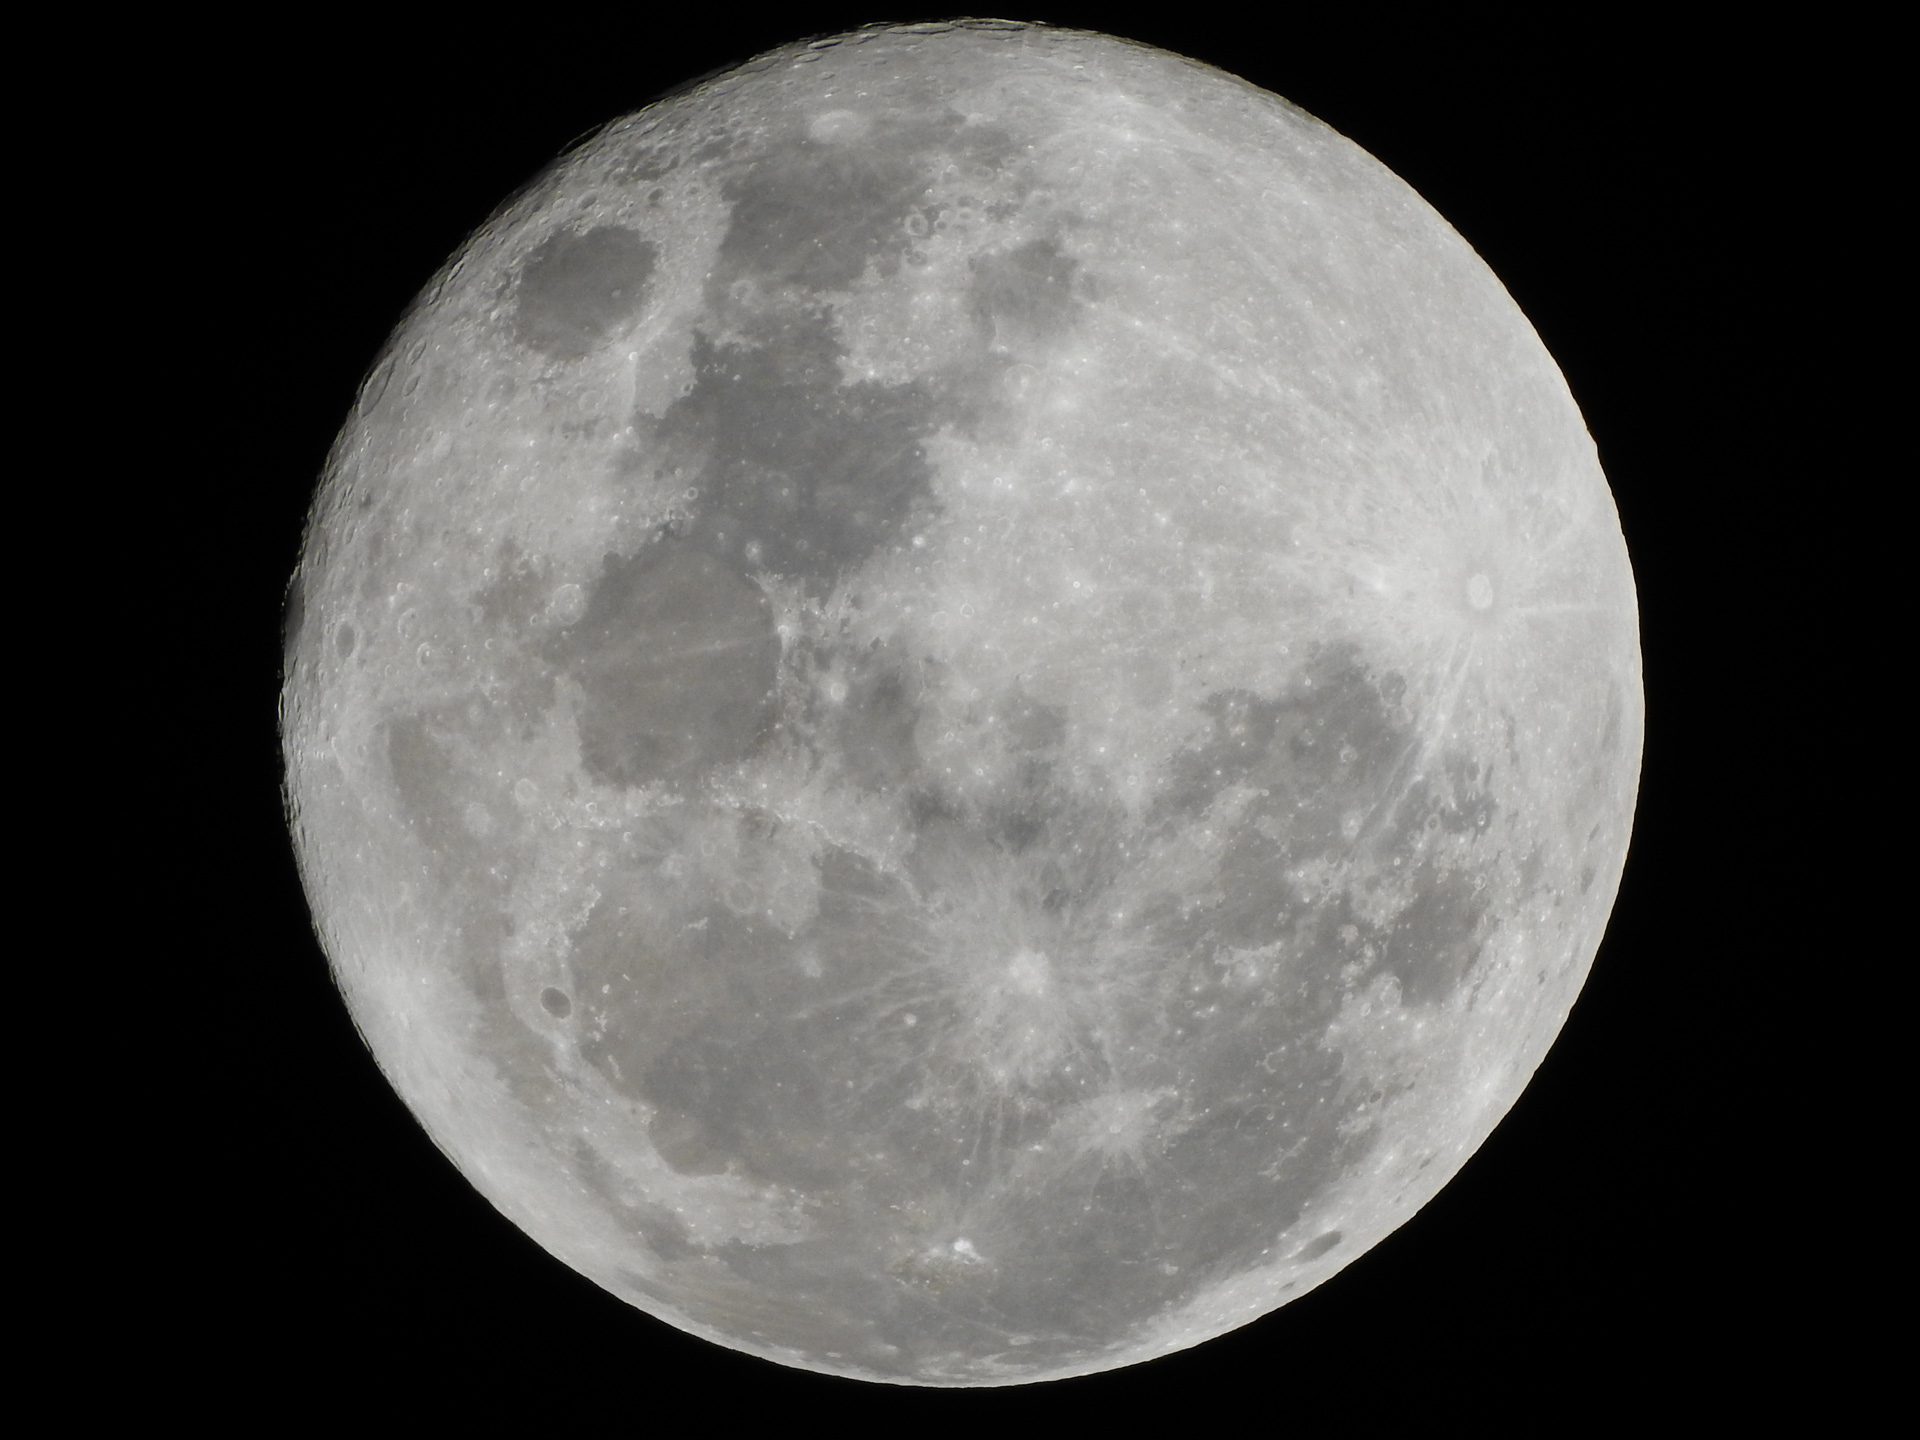
Low-light photography means taking photos in dimly lit areas. This requires special equipment and techniques. The main challenges in this field include controlling exposure, whitebalance, and sharpness. There are two types low-light photography: ambient and flash. Flash photography works best when there's enough light around. If there isn’t enough natural lighting, you will need to use a flash. If your subject is outdoors but indoors, you might not have enough light to take a great picture without a flash. Shooting at night in the moonlight hours is a good alternative to using a flash. You'll be able to capture beautiful colors and shadows this way. Another option is to shoot during twilight. Twilight occurs when there is still daylight but the sun has set.
Also, you might want to try long exposures. Long exposures can be used to capture images even if the shutter has been closed for several minutes. When the shutter remains closed, the camera records only light that falls on the sensor. This light falls onto the sensor even after a long exposure. But, the shutter remains closed and no new light enters. The result is that there is very little movement. To ensure a clear image, you should turn off all automatic settings such autofocus or exposure. You should also adjust the ISO setting prior to you start taking photos. An ISO setting 200 gives you more control over how bright or dim your image appears. The shutter button should be pressed quickly when you are ready to take the photo. This will make the shutter close completely. Keep the shutter button pressed down until the last second. You can prevent any additional light entering your camera by holding the shutter button down. Once you have taken your picture, wait for a few moments before you release that shutter button. This allows the camera's to process the image. While you wait, your photos will be displayed on your computer's screen. Save them once you are satisfied with them.