Whether you live in London, New York, or somewhere in between, there are chances that you have at least heard about the SL-1 nuclear reactor. Despite being a controversial topic, this reactor was built with a number of practical benefits in mind. This article will give you the information you need to make your journey easier. We will discuss the SL-1's basic components, its construction, and the benefits of this reactor.
SL-1
Stationary Low-Power Reactor Number One (also known by the Argonne Low-Power Reactor, or SL-1) was a nuclear research reactor that operated for more than 30 years. It was originally built at the National Reactor Testing Station. The Idaho National Laboratory later adopted it. It is the main attraction at Idaho National Laboratory west of Idaho Falls. It is one of the most important nuclear reactors in the world.
The SL-1 reactor was designed with a central control rod that would produce a large amount of excess reactivity when it was removed. This is the measure of the nuclear reactions ability to accelerate. To maintain a high level of nuclear reactions, it is necessary that the fuel becomes less reactive. Once there is enough excess reaction, the control rods must be removed.
SL-1 reactor
The Argonne High Power Reactor (also known by the SL-1 reactor) was the original nuclear weapon that was tested in the United States. It was constructed in Idaho at the National Reactor Testing Station (now Idaho National Laboratory), west of Idaho Falls. It was designed to produce low-level radioactive waste. It is still operational today. You can find many interesting facts about SL-1. This article examines the history and development of this reactor.
The SL-1 reactor reached prompt crisis in less than four milliseconds after its main control rod was pulled prematurely. This excessive reactivity was a consequence of a decision to only load 40 fuel assemblies with nuclear fuel. This made the prototype reactor core active at its center. The control rods of the core were only removed to allow for sustained nuclear reaction and energy generation. The SL-1 reactor's rapid nuclear reaction caused the reactor fuel to melt, resulting in an intense pressure wave.
SL-1 reactor building
The SL-1 was a nuclear-test reactor at Utah's Dugway Proving Ground. The building was occupied by two men. They were working in a hostile environment. The reactor, named SL-1 by the group, was disobedient, cranky, and disobedient. Richard McKinley (a new trainee) was helping them. McKinley reminded them of their own 18-month-old self. The new employee made the men scream so they fled and dial 911.
The SL-1 was the smallest reactor of the three and might not have received the right attention. The building had serious problems a year after Legg and Byrnes took over. The Boron that was used to neutralize uranium's reactivity began to flake and the control rods started to stick. One point they had to have been manually lifted. While officials didn't know what caused the problems, the SL-1 was shut down for repairs.
FAQ
What Lenses Should I Use
Beginners often ask, "What lens should I purchase?" It's a tough decision since there are so many options available.
The good news is you don't always need to buy a different lens with every purchase of a camera. Instead, you can add lenses later on.
Here are three types you might be interested in.
-
Wide Angle Lens (14mm - 24mm): These lenses give you a wide angle of view, allowing you to capture more of your subject. Zooming in can be done without affecting image quality.
-
Normal/Standard Zoom Lens (28mm to 70mm) : These lenses allow you the flexibility of changing focal lengths, while still maintaining high quality images.
-
Telephoto Zoom Lens (70mm-200mm): These lenses can be used to capture distant subjects. These lenses allow you stay focused on your subject even when they appear small.
These lenses can be combined to create different effects. For example, you could use a normal lens to shoot close-up details and switch to a telephoto lens to capture far away objects.
What makes a camera bag good?
Camera bags are essential for protecting your gear during travel. These are some important things to keep in mind as you choose a bag.
-
You should choose a large bag that can hold your accessories and camera comfortably. You shouldn't buy more than what you actually need.
-
Durability: Buy bags made of durable materials like canvas, nylon or leather. Avoid using plastic bags or fabric bags.
-
Protection: Make your bag waterproof against dirt, moisture and scratches
-
Organization: Consider organizing your gear by type to easily access your needs. Your lenses, memory cards, and battery charger can be placed in different compartments.
-
Comfort: Avoid carrying around a bulky bag when you are shooting. Instead, carry a shoulder belt. Comfortable designs with padded shoulders are also recommended.
-
Price: Shop around to find the best price. Brands may offer discounts on their products, which can prove to be a plus.
-
Warranty: Check to see if the company offers a limited warranty. This way, if anything happens to your bag, you know who to contact.
How do I learn to take photos on my own?
There are many ways you can learn to take great pictures. There are several options. You can read a book, go to a class, or join an internet community. If you really want to learn how to take pictures, it's best to do it yourself. That way, you have complete control over what goes into each photo. And you'll continue to improve as long you keep learning.
One of the best aspects about digital photography is that it doesn't require any expensive equipment. All you need is a computer with internet access and a camera. You can do the rest.
Here are some ways to get started.
-
Learn how to use the manual settings on your camera.
-
Learn how to use the basic controls.
-
Take many photos.
-
Modify them.
-
These are yours to share.
-
Keep practicing.
-
Experiment.
-
Consider different angles and perspectives.
-
Use light sources creatively.
-
Practice makes perfect.
-
Don't be afraid to fail.
-
Be patient.
-
Have fun
Which is the best camera to use for beginners?
The best camera for beginners will depend on your budget, needs and level of skill.
For instance, you could choose a point & shoot digital camera if your goal is to save some money. These cameras aren't as versatile as they look, but they provide good quality.
A DSLR (Digital Single Lens Reflex) camera has interchangeable lenses that let you shoot different types of shots. They usually cost more than point-and-shoots but give you much greater flexibility.
A beginner's kit for beginners is a good place to start. Everything you need, including a flash, tripod, memory card and camera body, will be included in the one-pack.
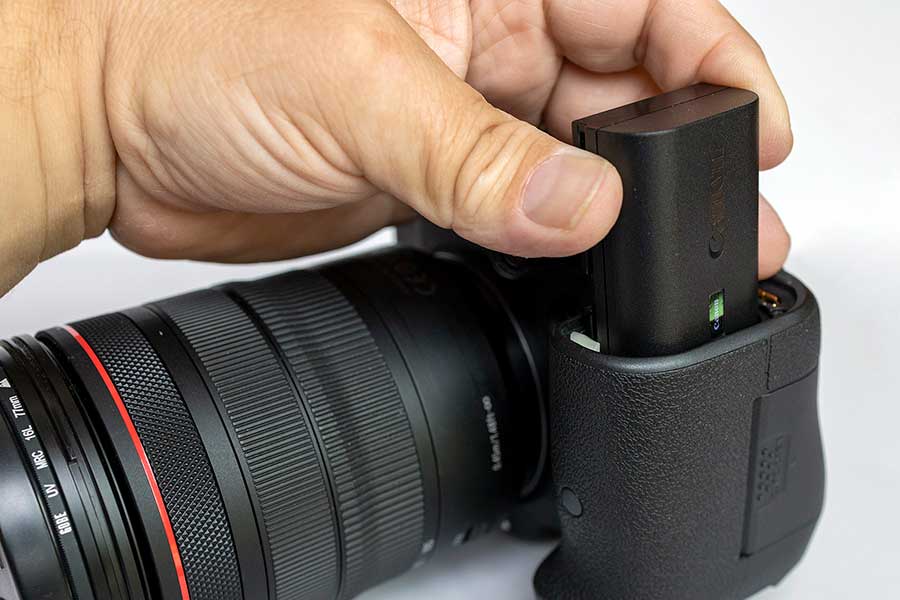
Do not forget to get extra batteries!
Statistics
- While I cannot prove that all of those spots were not sensor dust, the photo was taken during a heavy snowstorm…so I guess that 99.8% of the spots are snowflakes. (bhphotovideo.com)
- In this case, 100% of readers who voted found the article helpful, earning it our reader-approved status. (wikihow.com)
- There are people out there who will pick at flaws they can only see in 100% crops of your photos. (wikihow.com)
- By March 2014, about 3 million were purchased monthly, about 30 percent of the peak sales total. (en.wikipedia.org)
External Links
How To
Lightroom and Photography: How to Use it
Adobe Lightroom can be used by photographers to easily edit photos. It lets you import images from multiple sources into one place, where they can all be viewed, edited and cropped. They can be shared online, printed, or emailed.
Lightroom offers editing tools such as cropping, adjusting brightness and contrast, color balance and color balance. It also includes presets that allow you to apply common effects like vignette and lens distortion correction. This is the best thing about Lightroom: these adjustments are automatically applied when you export your images.
You can access Lightroom through Adobe Bridge, which lets you organize your files and view thumbnails while browsing your collection. You can even add keywords to your images to find them later.
If you're new to Lightroom, start with the free version. This includes all of the basic features. You have two options when you decide to upgrade. Either you can purchase the full version, or you can subscribe.
Lightroom can downloaded in many ways. One option is to purchase the software directly from Adobe. Another way to get the software is to download a trial version and then convert it to a licensed copy. Here's how it works.
-
Lightroom Trial Version Download
-
Launch the program and click "Convert to License" at the bottom of the window.
-
Enter your payment information and select the type license you wish (permanent, one year)
-
Click "Continue" to complete the process.
-
Once you have converted the trial version to a paid license, you can continue using it until the end of the term.